[ Enter you text here. ]
The How To
Bird Page
Mounting a turkey the plug in way
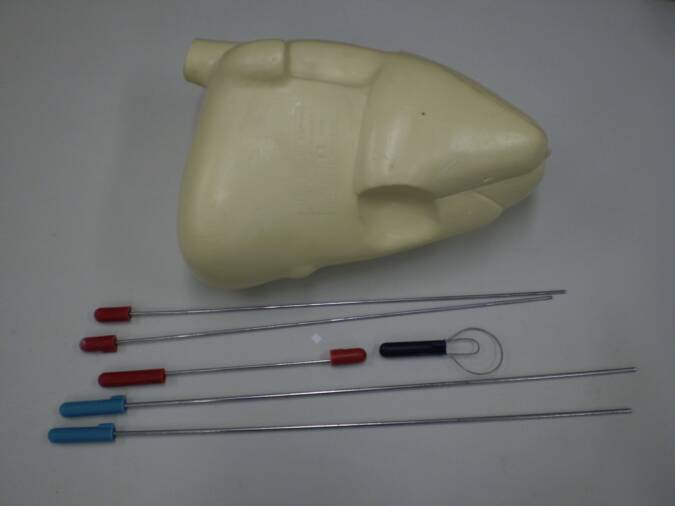


I start with a good quality form and a plug in turkey kit.
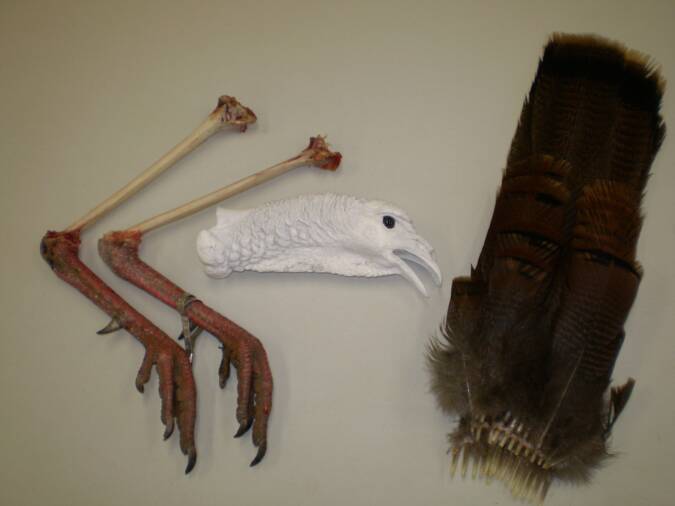
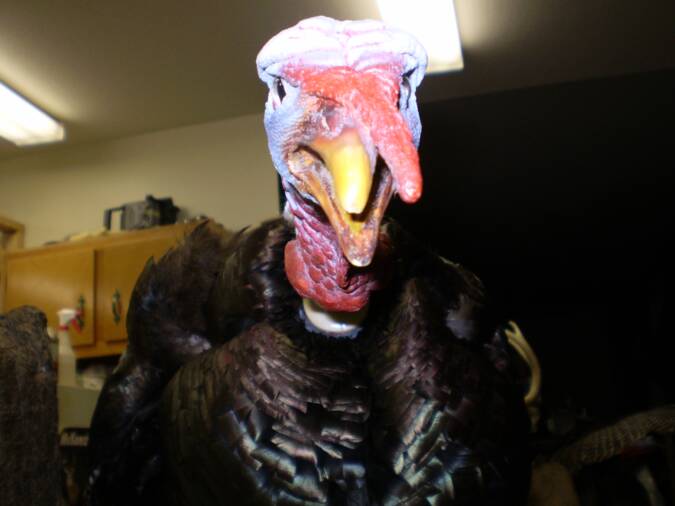
The turkey tail, feet and the head are the first thing I work on. The head can be freeze dried or artificial.
Click here to add text.
Click here to add text.
The plugs are all sanded so the glue will hold better' I'm not sure this is necessary but I do it for peace of mind.
The tail plug is bondoed to the tail the same way you would bondo a tail wire in place, This works better for me then any other method of securing the tail
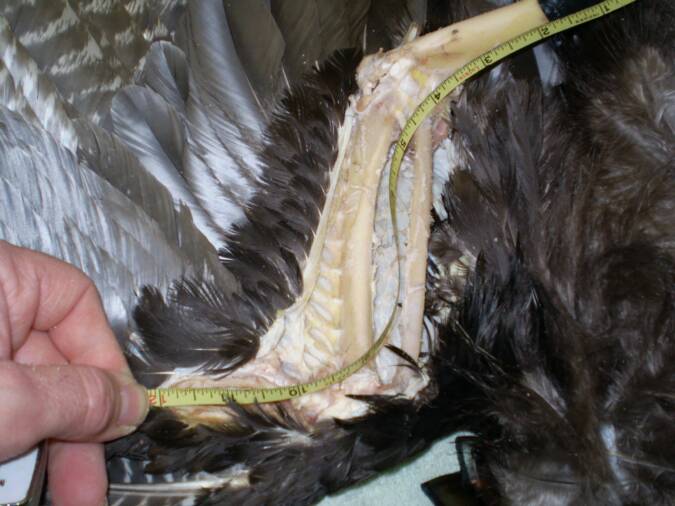
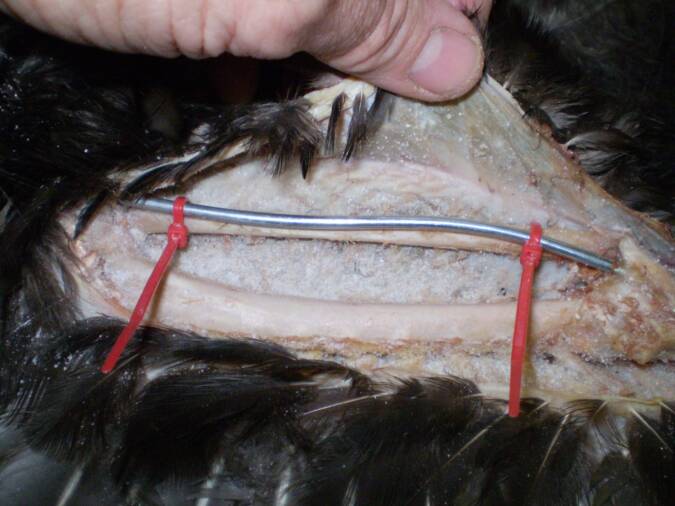
After the bird is fleshed washed and dried, cut the ball end off of the humerus and slide it through the flight web so you can measure it for the length of the wing wire.
The wing wire is cut to length and sharpened on the end. push the humerus back through the flight web and bend the wire so the plug is even with the cut off bone. Do not attach the wire yet!
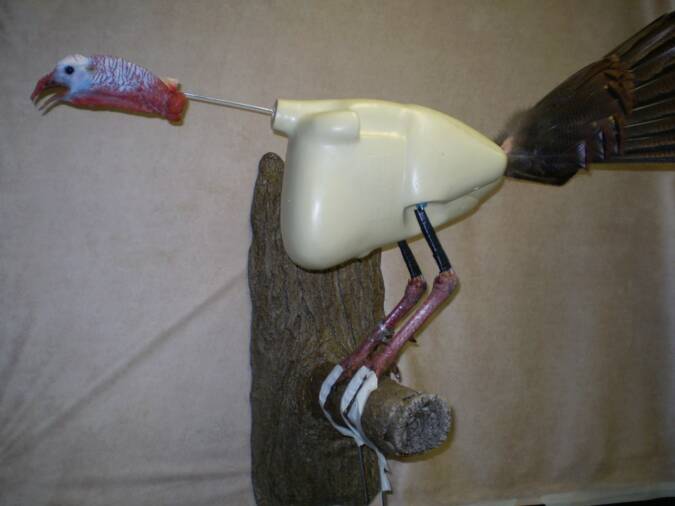
when the holes are drilled in the form you can pose the turkey by sliding the plugs into the drilled holes. I like to pose the turkey and let the legs dry before doing the actual mounting.
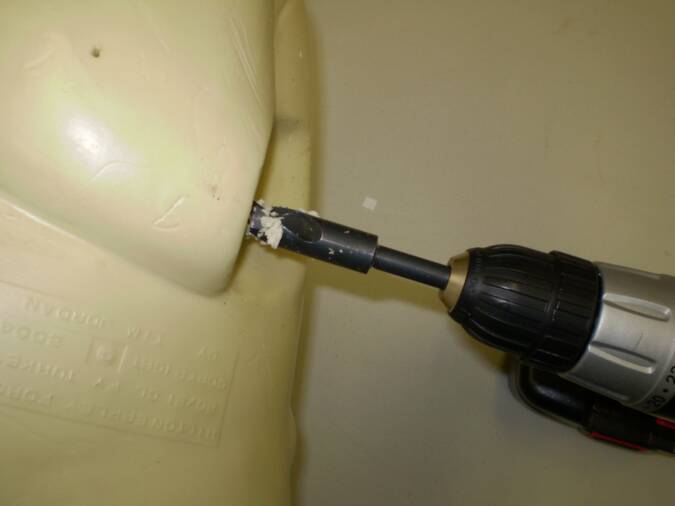
With the tail, head and legs ready its time to drill 5/8" holes in the form, drill the holes in the same place you would push wires through, if you were using wires.
Drill a 5/8" hole into the head so the plug will slide in. I drill the hole deeper then necessary this way the plug can be pushed in deeper to make the length of the neck wire shorter
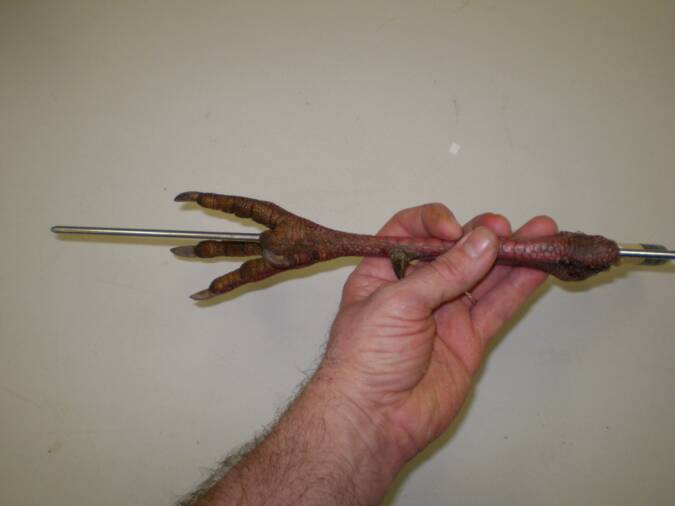
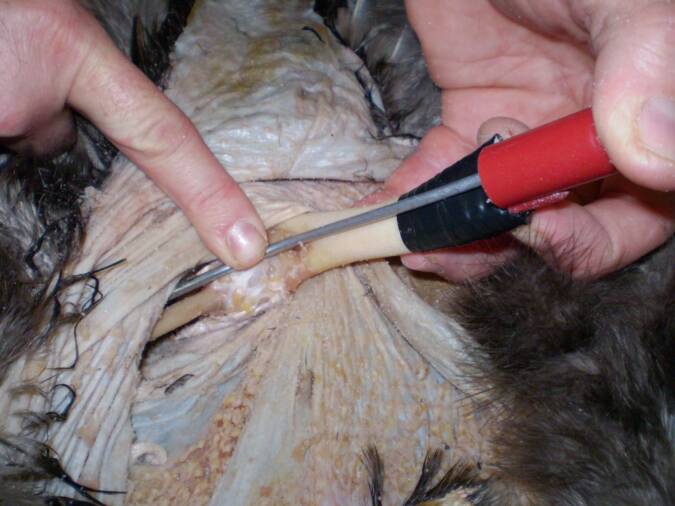
The leg wires are sharpened on the end and pushed out through the middle toe. .
Click here to add text.
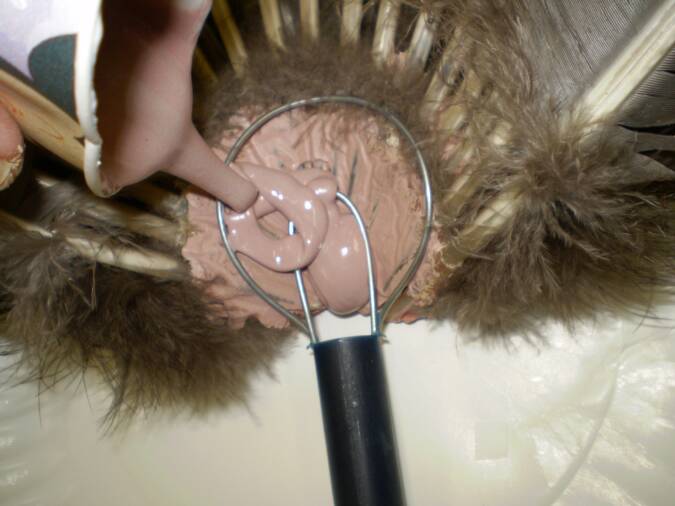
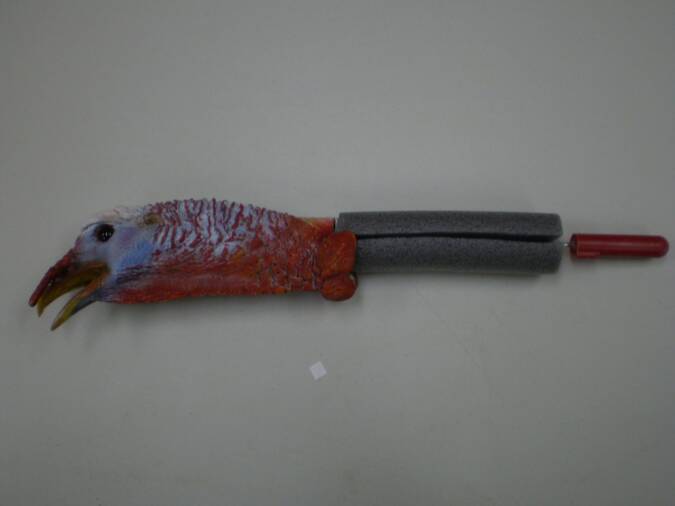
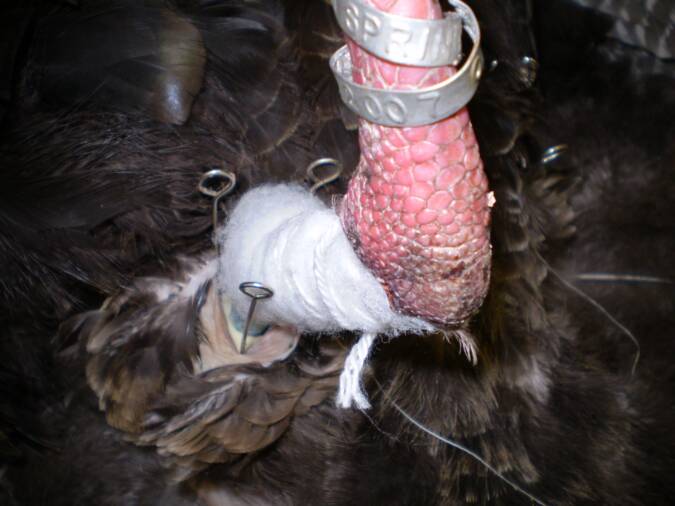
The plug in neck wire makes a perfect handle to hold while painting the head. Neck foam is sliced length wise and slid around the wire. Build up the wind pipe and wrap with string to hold in place.
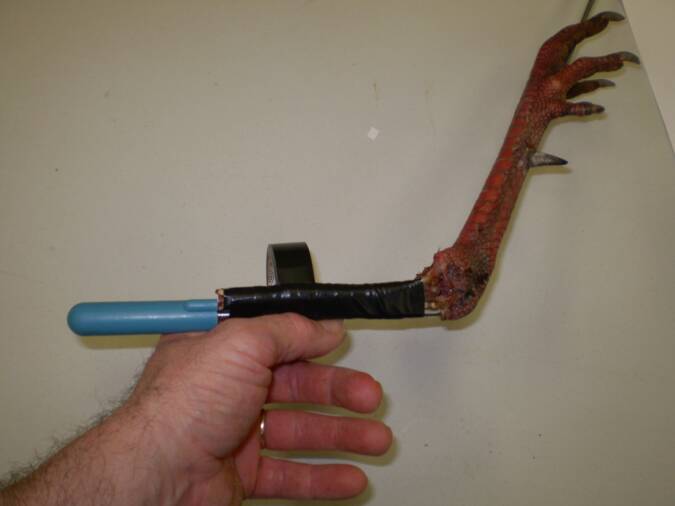
The leg wire plug is pushed down against where the leg bone was cut off and taped securely in place. Then masters blend is injected into them. Let the legs dry on the posed form.
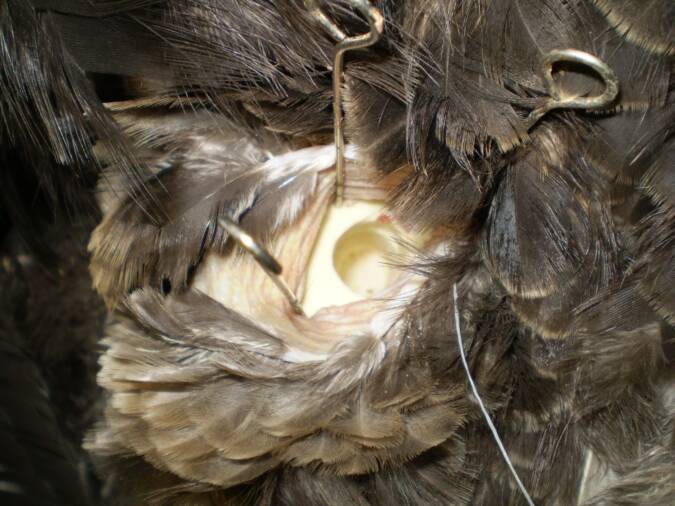
Push the sharpened end through under the ligament at the last joint and through the last section and into the quill.
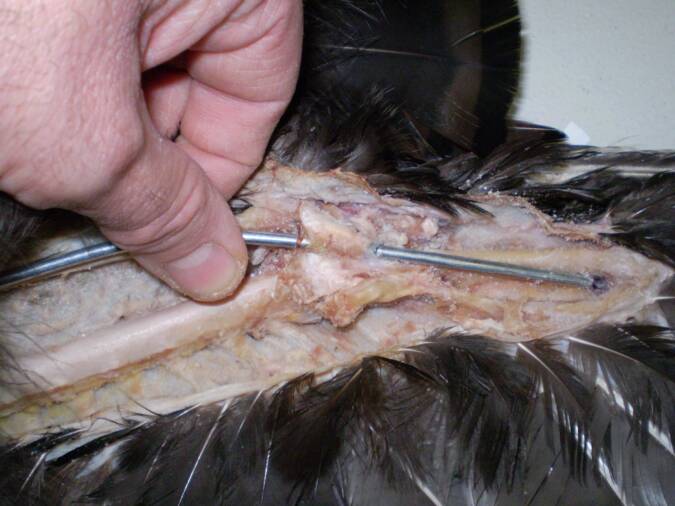
Securely attach the wire to the ulna.
Finish by securing the wire to the humerus bone. Then do the other wing.
With the wings wired put the form into the skin and glue the wing plugs into the form.
Sew up the incision starting in the center with two separate pieces of thread. Sew all but two or three inches on the end of each leg skin. use upholstery pins to hold the skin open to put glue in the hole.
Put glue in the hole and Stick the leg plug in through the skin opening and plug it in. finish sewing up the incision and glue the skin in place
After the legs are glued in, stand the bird up on its base. Then glue the head and tail in place, the same way the legs were done, using upholstery pins to hold open the opening and add glue. Plug the plugs in and line everything up. Finish grooming the feathers and let the mount dry.
Note: In my opinion this is the easiest way to mount a bird. The bird form is drilled and posed, with the legs, head and tail, before the mounting is ever started. So you know exactly what it will look like before the mounting starts.
There is no other way I know of where 75% of the incision can be sewn up with out the legs in the way. all the parts are simply glued and plugged in. Its really that easy. I recommend using gorilla glue, to glue the plugs in.
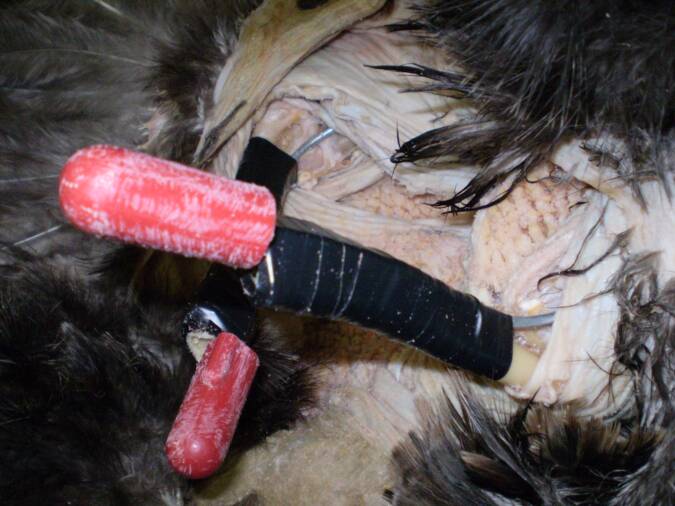
This method is very strong. the plugs can't be pulled with out exerting more force then any mount could possibly be exposed to.
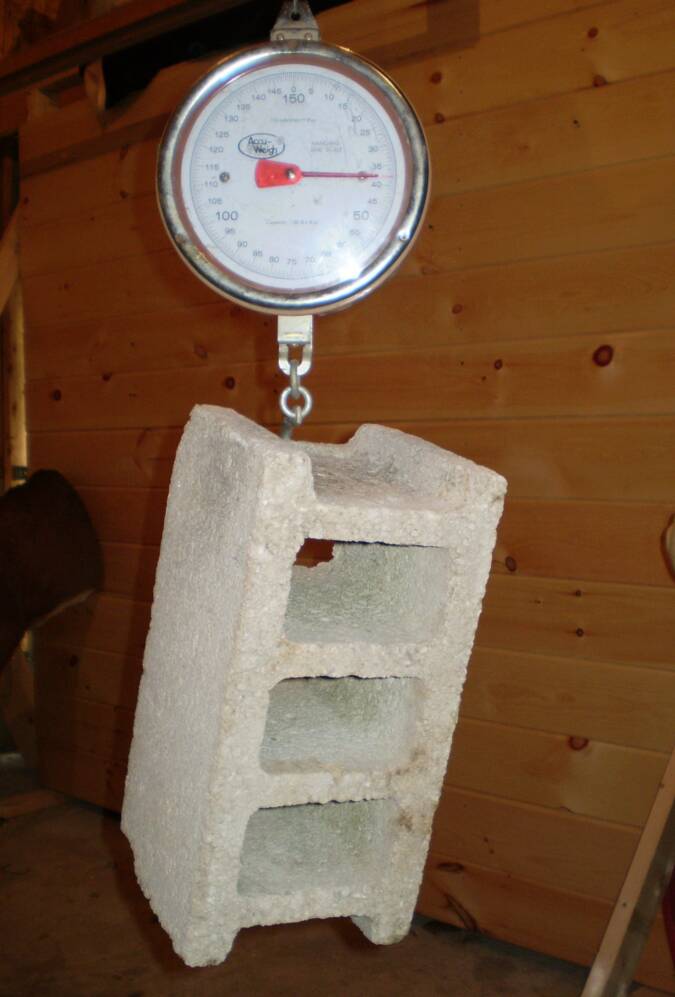
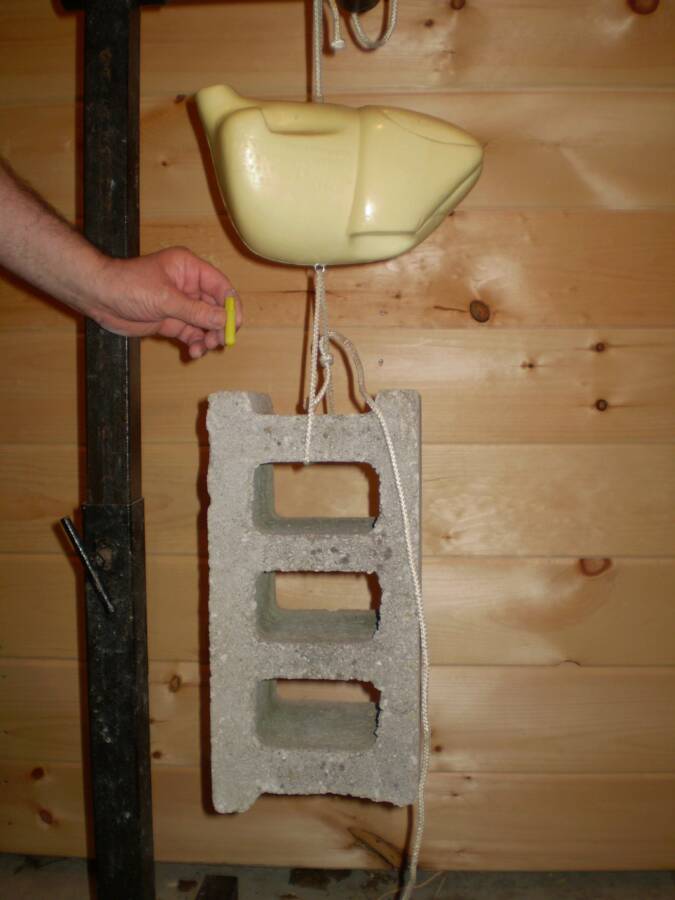
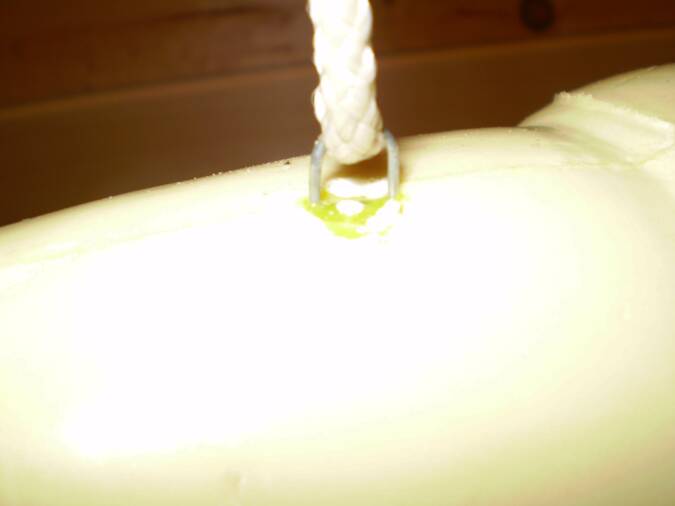
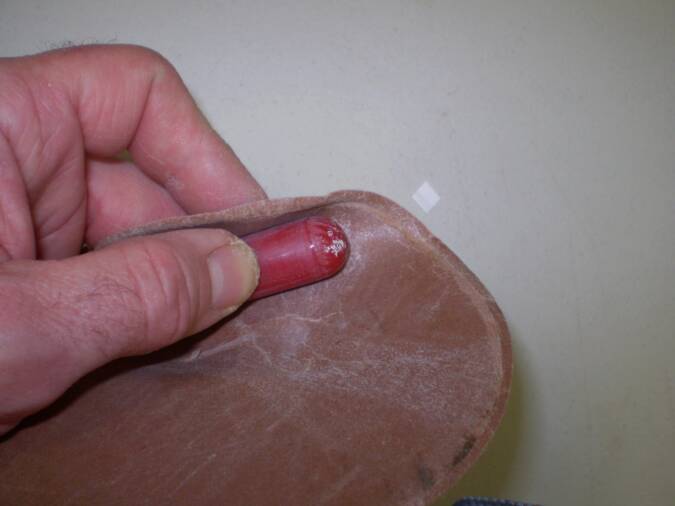
These two pictures show how well these plugs hold. The picture on the right shows the concrete block weighs 37lbs. The picture on the left shows a hen turkey form from Hilton Eppley forms with two of the 3/8" diameter suspended flyer plugs (like the one I'm holding in the picture). The plugs are glued in with gorilla glue. One plug on top and one plug on the bottom. The picture in the center shows a close up view of the plug on top.